How to Fix a Stuck Smartwatch Button
Fitbit side button not working or stuck? Steps to fix it
Most Fitbits include at least one button, and some include two or even three buttons. Those buttons may be a physical button that you can press in and out or Fitbits touch-sensitive button that responds to pressure (called an inductive button.)
Unfortunately, regardless of whether the button(s) is physical or pressure-sensitive, they can become unresponsive, stuck, or otherwise not work!
If your Fitbits button isnt working, you arent alone! This article outlines some steps you can take to troubleshoot the problem. So lets dive in.
How to fix your Fitbit buttons when they dont work
First, take a close look at your Fitbits buttonsare they physical buttons that you can push in and out or are they flat indented haptic buttons that dont move in or out?
Some models, like the Luxe or Charge 5, dont have any buttons and rely solely on navigation via the touchscreen.
You troubleshoot physical and haptic buttons differently, so look at your Fitbit and note which type of button(s) your Fitbit model has.
Haptic buttons, also called solid-state buttons or inductive buttons, are indentations in Fitbits frame that are pressure sensitive and use vibrations to imitate the feel of a physical button. Models like the Versa 3, the original Sense, and Inspire 2 and 3 feature a haptic button instead of a physical button. 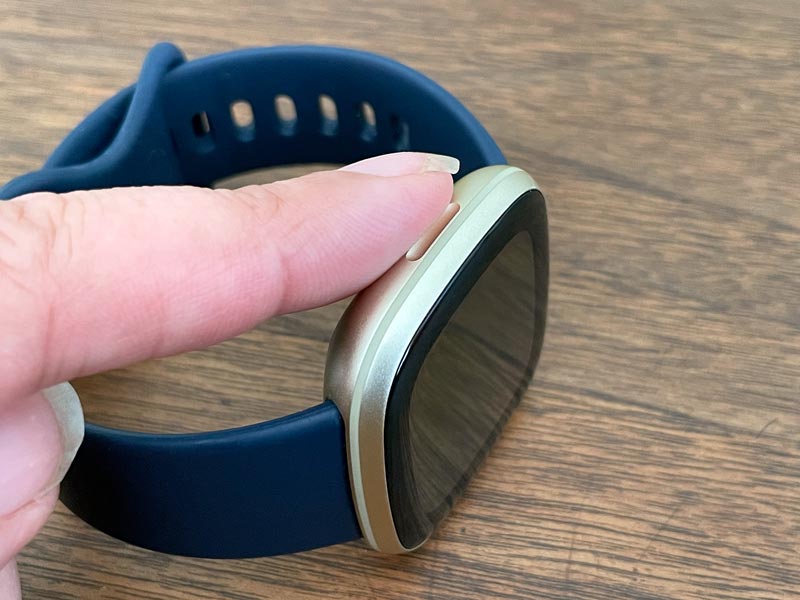
You find a physical button on the newest Sense and Versa models (Sense 2 and Versa 4) and most of the older watch and tracker models, including the Versa & Versa 2, older watches like the Surge, Blaze, and Ionic, the Inspire and Inspire HR, and the original Charge and Charge 2.
Troubleshoot physical buttons on your Fitbit ![]()
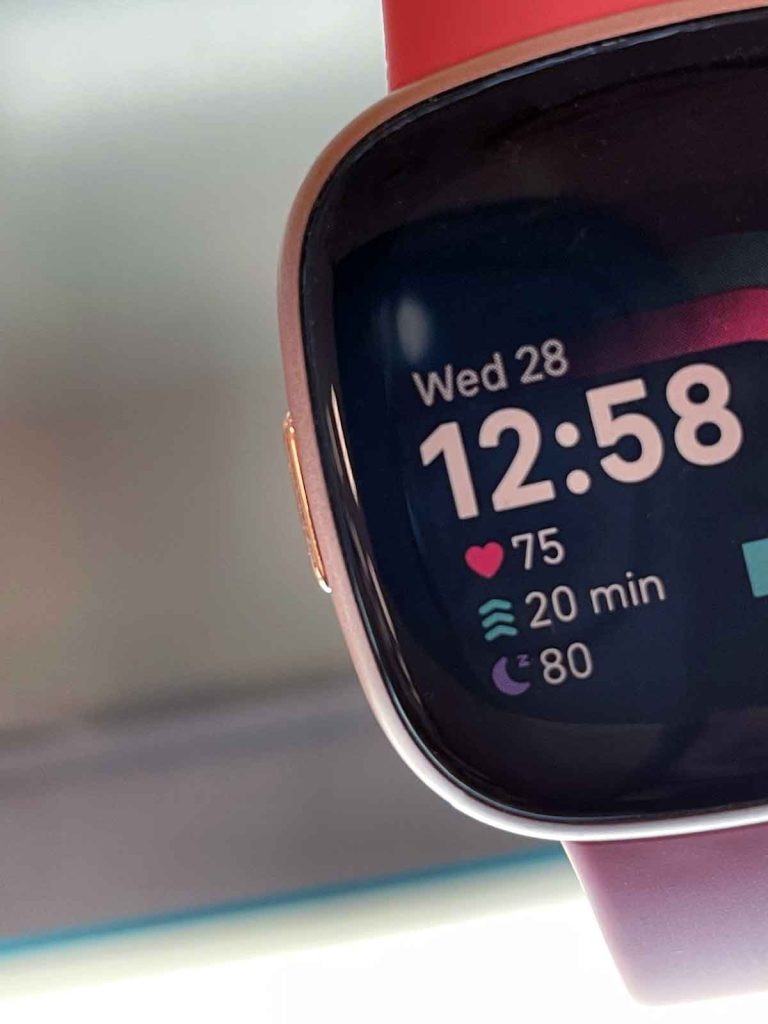
Remember, a physical button pushes in and springs back out (when its working normally.) Another good well to tell the difference is that you can push a physical button, even when the Fitbit is off.
Clean the button area
If your Fitbit has physical buttons and is stuck or wont pop out or press in and out smoothly, the first thing to do is clean the button with a microfiber cloth and, if necessary, a little isopropyl alcohol to remove any dirt or grease that may prevent the button from working.
You can also use a toothpick or interdental brush to remove debris around the buttons edges or try canned air to loosen anything stuck, spraying it from a distance of at least 12-18 inches or more away from the Fitbits button.
After thoroughly cleaning the button(s), restart your Fitbit using the on-screen options and then see if the button works again.
Suspect the Fitbits button is jammed?![]()

Another tip for physical buttons is to press the button in and out repeatedlythis often loosens anything that might be jammed in there.
Tapping the opposite side with your hands palm can also help release anything thats stuck inside the button and prevents it from working.
Even running a piece of paper along the buttons edges can get out anything causing your button to stick.
Rinse your Fitbit with water
As long as your Fitbit is a water-resistant model, try rinsing it under warm (not hot) water. Warm water helps loosen anything stuck on the edges of the buttons. In particular, salt from our skin and sweat can crystallize along the buttons borders, and warm water dissolves those salt deposits.
You dont want to submerge it, just run the tap with warm water and gently rinse it for about 10 seconds, paying particular attention to the area around the button. Dont press the buttonjust let the warm water work its magic!
If you dont feel comfortable rinsing your Fitbit under the tap, wet your finger or a soft toothbrush with warm water and outline the boundary of the button with that finger or brushthat might be enough to get rid of that debris or loosen it enough so that a microfiber cloth gets rid of the remaining.
After rinsing, thoroughly dry your Fitbit using a microfiber cloth, which helps to trap and remove anything the water loosened but didnt wash away.
Troubleshoot inductive haptic buttons on your Fitbit ![]()
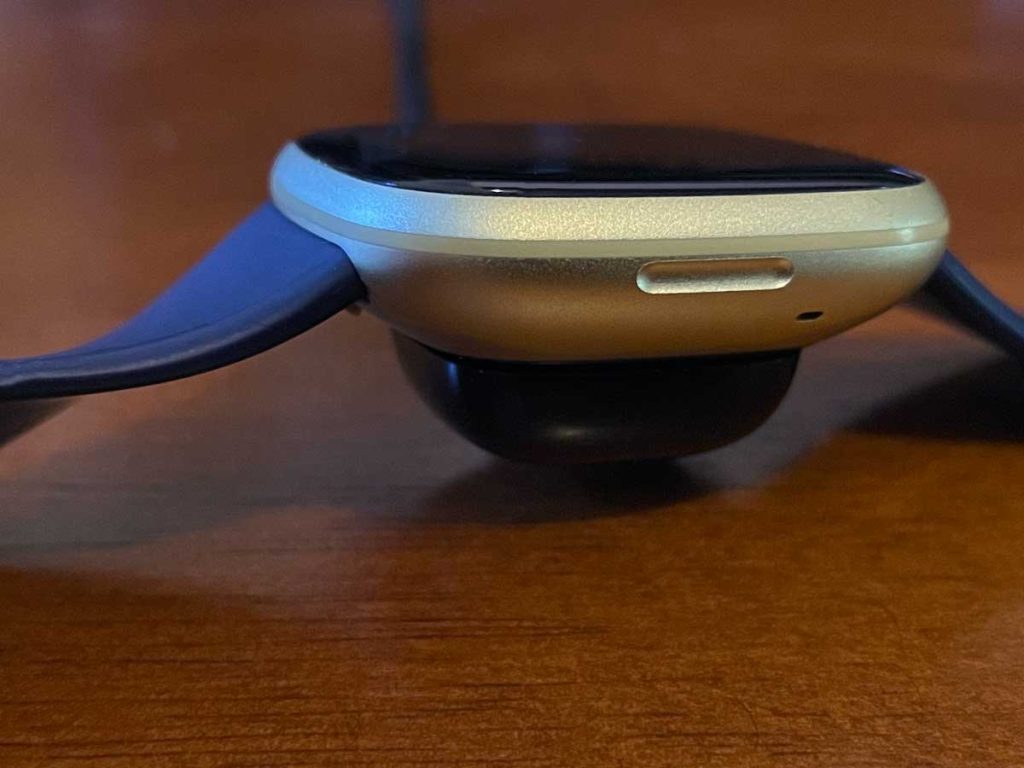
If your Fitbit has a touch-sensitive button, it looks like a flat indentation and does not push in and out. Instead, when you press the button, you feel a haptic feedback vibration when the Fitbit is powered on.
You find these indented haptic side buttons on the Fitbit Sense, Versa 3, Fitbit Inspire 2 & 3, Ace 3, and many of the newer Charge series models.
How to use a haptic button on your Fitbit
Many people dont know how to use this type of button. The trick is to use your thumb on the button surface, and your index finger on the opposite side and then quickly squeeze the buttondont squeeze and hold it. You should feel a vibration and a response on the Fitbits screen.
Swiping the entire button surface up or down in a single stroke instead of pressing or squeezing it also seems to work!
You troubleshoot a haptic button differently than a physical buttonthats because a haptic button isnt really a button at all.
Instead, a virtual button built into the operating system responds with vibration to mimic a physical button. Consequently, the fixes for these buttons are usually software related.
Check your vibration settings ![]()
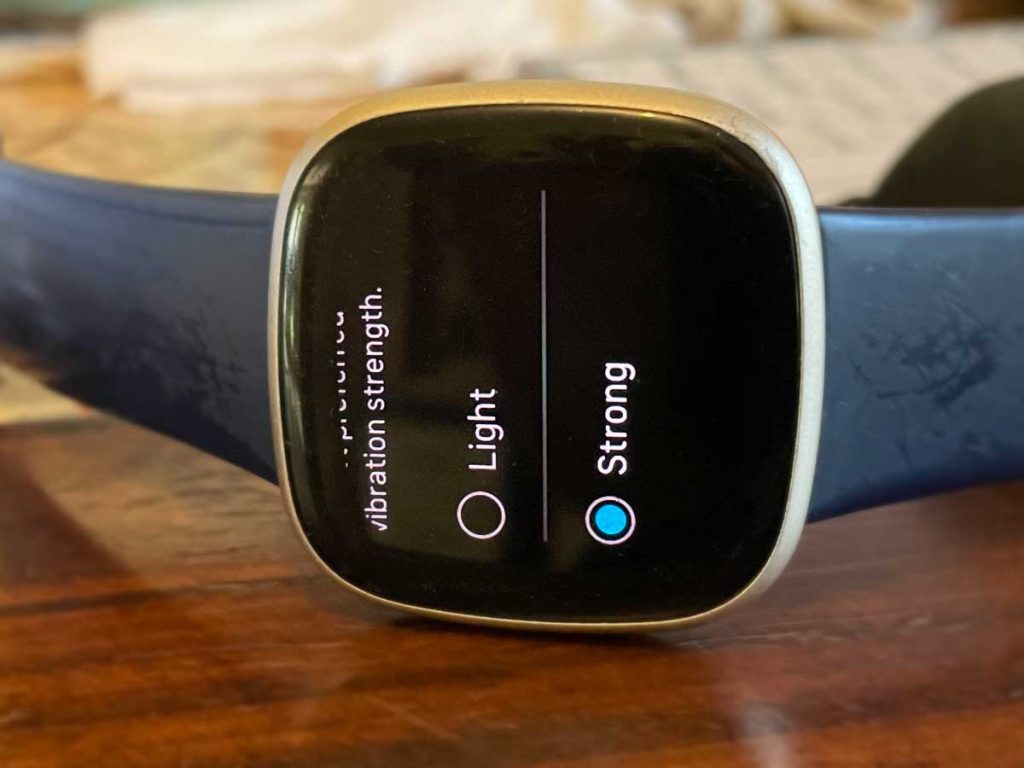
It is possible that the button is working, but you arent feeling the haptic feedback (vibration) that lets you know you interacted with the button.
Open the Settings app on your Fitbit, choose Vibration & Audio or Vibrations (it might be in other settings), and select a stronger vibration.
Try restarting your Fitbit ![]()
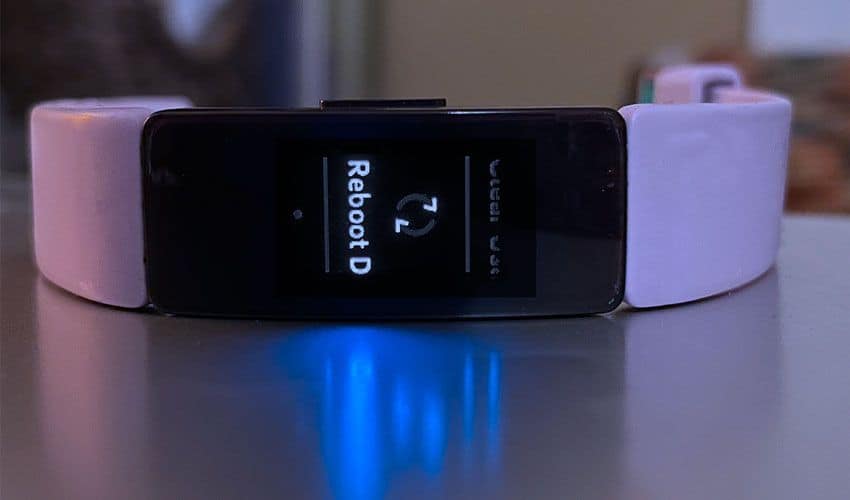
If youre accessing the touch-sensitive button by squeezing or swiping and it still doesnt respond, restarting your Fitbit often solves the problem.
Each Fitbit restarts differently, so see this article for steps for your model: Need to restart or reset your Fitbit? Learn the steps.
Most Fitbits offer a way to reboot or shut down their devices in the Settings app.
Check for water lock ![]()
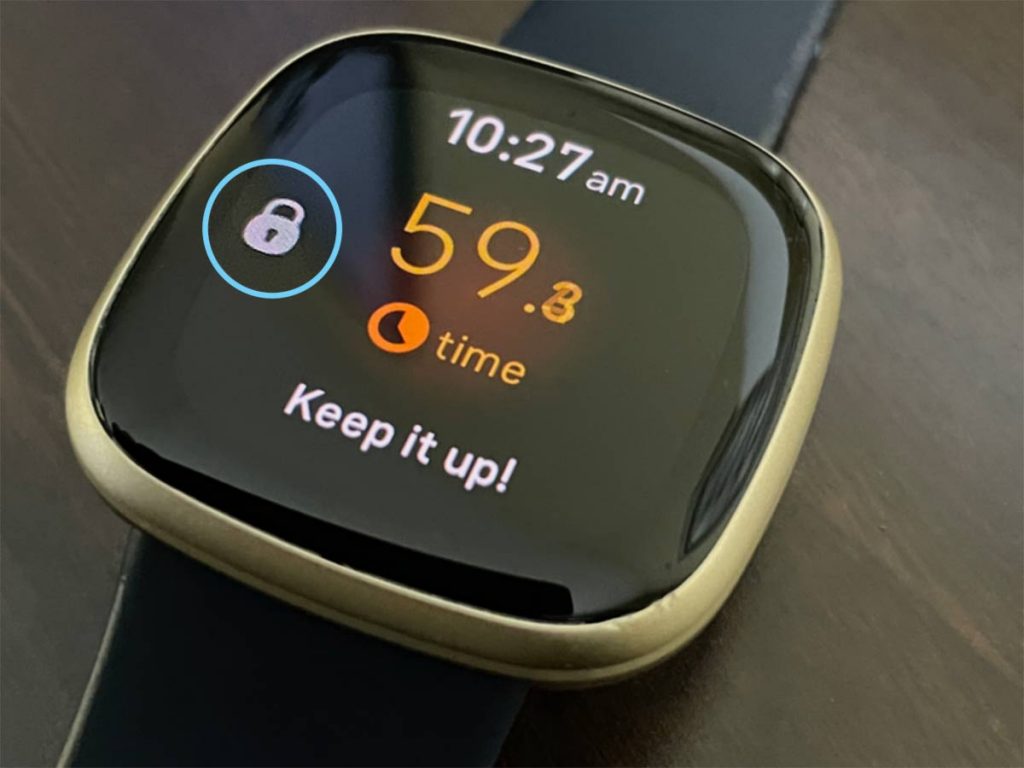
Some Fitbits include a water lock or swim mode, which disables those buttons entirely to avoid accidental touches or presses while in the water.
Even if you didnt intentionally turn Water Lock or Swim Mode on, its pretty easy to turn it on accidentally. So check if your Fitbit is in water lock or swim modeyou usually see a water droplet icon on the screen.
Exiting this mode is different for each model, so check out this article to learn how to get out of water lock/swim mode for your Fitbit: Fitbit stuck in water lock or swim mode? Lets fix it
Drain the battery ![]()
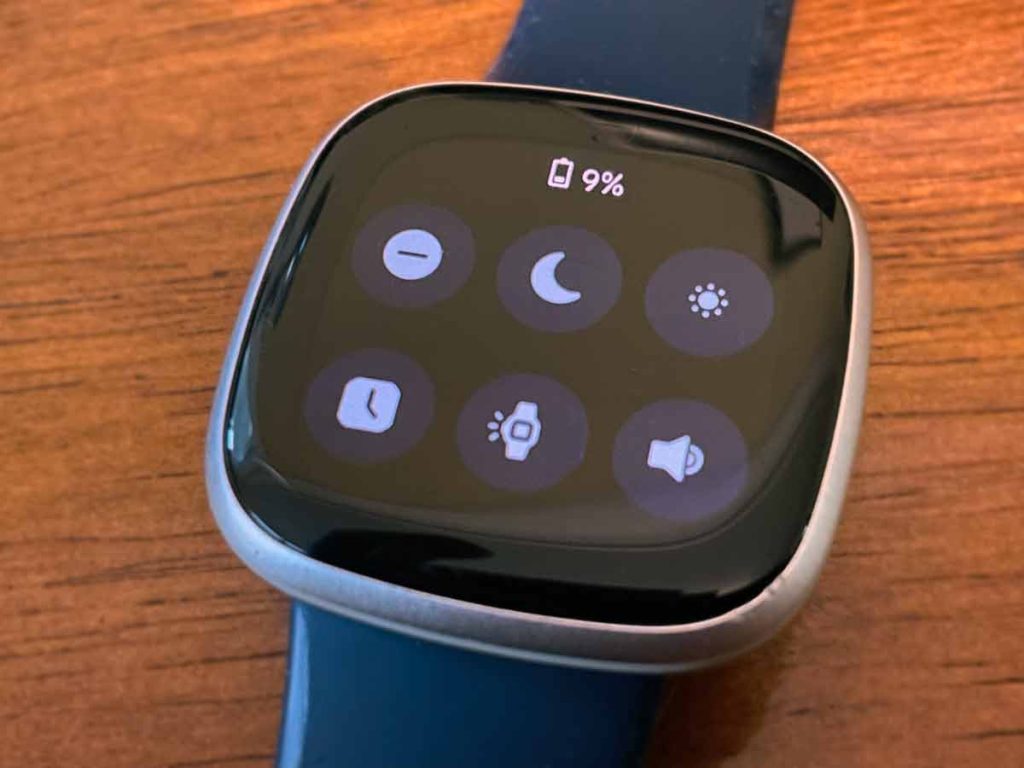
If your Fitbit is not in Water Lock or Swim mode and you cant use the button or cannot restart, keep the Fitbit off its charger and wait until its battery runs out.
Tips to drain the battery include using an always-on display, turning heart rate monitoring on, and if you dont wear your Fitbit, leave it face up, so the display is on.
Once the devices battery drains completely, charge it and leave it charging until its 100%. Then, see if the button(s) respond.
Reset your Fitbit ![]()
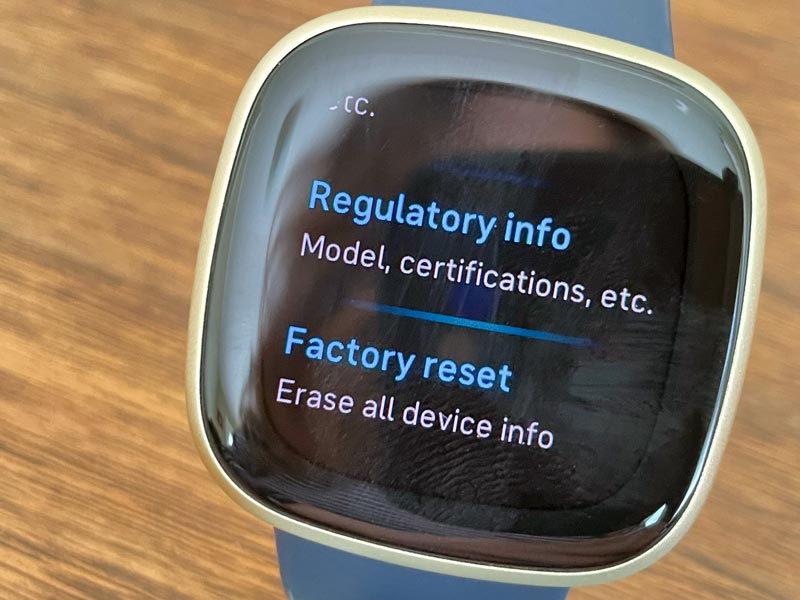
If you tried all these steps and still arent getting that haptic button to work, resetting your Fitbit can help.
Before you reset it back to its factory standards, sync your Fitbit with the app to save any data from the device before erasing it.
Once the sync completes, reset your device. Again, how you reset depends on the model, but it is usually in the Settings app > About settings. See this article to learn the steps to reset your Fitbit by model: Need to restart or reset your Fitbit? Learn the steps.
When you reset, it removes and clears all your personal data from the device only, not your Fitbit account.
Final thoughts
Hopefully, your Fitbits button(s) is now unstuck and working again. If not, your remaining option is to contact Fitbit Support. We highly recommend you contact Fitbits support team even if your Fitbit is no longer in its warranty period (usually 1-2 years after purchase.)
Before contacting support, locate your proof of purchase and have your devices serial number handy in case you need to provide that during your session.
How to Repair Smartwatch Button? (Heres What You Need To Know)
Does your smartwatch button not seem to be working? If you are experiencing issues with your smartwatch button, youve come to the right place.
In this article, youll learn the steps necessary to repair the button on your smartwatch.
Well walk you through taking the smartwatch apart, checking for damage, replacing the button, repairing the button, reassembling the smartwatch, testing the button, and troubleshooting common issues.
So if youre ready to get your smartwatch button working again, lets get started!.
Short Answer
To repair a smartwatch button, you will need to open the back of the watch and remove the battery to access the buttons.
Depending on the type of watch, you may need to use a small screwdriver.
Once the button is accessible, you can check to ensure it is connected properly to the circuit board.
If it is not, you can reattach it and then check to make sure it is working correctly.
Once it is functioning properly again, you can put the battery back in and close the back of the watch.
Take the Smartwatch Apart
Taking apart a smartwatch can be a delicate process, and it is important to take the time to do it correctly.
Before you begin, make sure you have the right tools for the job.
These may include a small Phillips screwdriver, tweezers, and a spudger.
Once you have gathered your supplies, you can start to take apart the smartwatch.
Begin by turning the device over and unscrewing the back panel.
After removing the back panel, you will be able to access the internal components of the smartwatch.
Carefully note where each part belongs, as you will need to reassemble the watch later.
If you have difficulty taking apart the watch, consider looking up tutorials or videos online.
Check the Button and Connections for Damage
Once you have taken your smartwatch apart, the next step is to check the button and its connections for any signs of damage.
Depending on the type of smartwatch, the button may be soldered directly to the circuit board or may have a two-pronged clip that connects it to the circuit board.
If you can see any physical damage to the button or its connections, you should replace the entire component.
If the damage is minor, you may be able to fix it.
If the button is still intact, you should check for any signs of corrosion or wear.
Corrosion can occur if the button has been exposed to moisture or dirt, and can prevent the button from functioning correctly.
Wear is often caused by repeated use and can cause the button to become unreliable.
If you see either of these signs, you should replace the button.
If the button and its connections appear to be in good condition, you should try to repair it.
Check to see if the button is still making good contact with the circuit board.
If the connection is loose, you may need to reattach it.
You can also check to make sure the button isnt stuck in the on or off position.
If the button is stuck, you can try to free it by gently pressing on it and wiggling it back and forth.
If none of these solutions work, you may need to replace the button.
Replacing the Button
When it comes to replacing the button on your smartwatch, youll need a few basic tools.
Depending on the make and model of your watch, you may need a flathead screwdriver, a tweezers, and an electronic soldering iron.
You may also want to purchase a new button, if the one you are replacing is damaged beyond repair.
First, youll need to take apart the watch, being sure to pay close attention to how the pieces fit together so you can reassemble it properly.
Once the button is exposed, youll need to inspect it to determine if it can be repaired or if it needs to be replaced.
If the button needs to be replaced, you can purchase a replacement and solder it onto the watch.
Be sure to use caution when soldering, as it is easy to damage the delicate connections in the watch.
Once the new button is in place, carefully reassemble the watch, making sure it is all put together properly.
Finally, test the button to make sure it works.
With a bit of patience and care, you can repair the button on your smartwatch and get it back in working condition.
Repairing the Button
Once you have taken apart the smartwatch and determined that the button is the problem, you can begin to repair it.
Depending on the type of damage, you may be able to repair it or you may need to replace it.
If you are able to repair it, you will need a few tools.
For example, you may need a small Phillips screwdriver, tweezers, a soldering iron, and solder.
If the button is simply loose, you can reattach it by using a small Phillips screwdriver to tighten the screws that hold it in place.
If the button is cracked or broken, you may be able to repair it using a soldering iron and solder.
Carefully heat the soldering iron and place a small amount of solder on the broken part of the button.
Allow the solder to cool and then test the button to make sure it is working.
If the button still does not work, you may need to replace it.
If you need to replace the button, you will need to know the exact type of button and its size.
Some buttons are specific to certain models of smartwatches, so you will need to be sure you have the correct one for your device.
Once you have the correct button, use the tweezers to carefully remove the old button and then place the new one in the same position.
Secure the button with the screws and test it to make sure it is working correctly.
With a little time and patience, you can repair or replace the button on your smartwatch.
Once you have completed the repair, reassemble the device and test the button to make sure it is working correctly.
With a little effort, you can get your smartwatch back in working condition.
Reassembling the Smartwatch
Once you have identified and repaired the damaged button, its time to reassemble the smartwatch.
This can be a tricky process, as all the components must be placed back in their original locations.
To ensure the best results, its important to take your time and be careful when putting the watch back together.
Begin by carefully placing each part back in its original position.
Take note of any screws, clips, and other pieces that were removed and make sure they are securely fastened back in place.
Its also important to make sure that all the components are properly connected, as these connections are essential for the watch to function properly.
Once all the parts are in place, you can replace the back casing.
Make sure the casing fits snugly and that the screws are tightened securely.
Finally, test the button to make sure it is working properly.
If all is well, you have successfully repaired your smartwatch button.
In conclusion, repairing a smartwatch button is not as difficult as it may seem.
With the right tools and some patience, you can repair your watch yourself.
Just make sure to take your time and be careful when taking the watch apart and reassembling it.
Good luck!.
Testing the Button
Once you have reassembled your smartwatch, the last step is to test the button to make sure it works.
To do this, youll need to power on the smartwatch and navigate to the settings menu.
From here, you should be able to select the option to test the button.
This will usually involve pressing the button several times in succession, and the smartwatch will provide feedback on whether it is working correctly.
If the button is working properly, you should be able to navigate the menus and select options by pressing the button.
If the button is not working, you may need to repeat the repair process.
In some cases, you may also need to recalibrate the button after the repair.
This involves setting the button to a specific location on the screen and then pressing it several times.
Once this is done, the button should work properly.
If the button is still not working, you may need to replace it with a new one.
Its also important to remember that repairing a smartwatch button is not always easy.
Depending on the model, you may need special tools or expertise to get the job done.
If you find yourself feeling overwhelmed, it may be best to take the device to a professional repair shop or contact the manufacturer for assistance.
Troubleshooting Common Issues
When it comes to repairing a broken smartwatch button, there are a few common issues to look out for.
First, check to make sure the button isnt just stuck due to dirt or dust.
If this is the case, use a can of compressed air to gently blow away any debris.
If the button is still unresponsive, its likely that the internal components of the button have been damaged or worn out.
In this case, youll need to carefully inspect the button and its connections to determine the best course of action.
If the button itself appears to be in good condition, inspect the connections running to and from it.
Check for any signs of damage, such as broken wires or worn out pins.
If any of these components are damaged, you may need to replace them.
However, if the button and its connections appear to be intact, you can try repairing the button yourself.
Depending on the complexity of the repair, you may need to use specialized tools or purchase replacement parts.
If you decide to replace the button, the process is relatively straightforward.
Begin by taking the smartwatch apart and noting where each part goes.
Then, locate the button and its accompanying components, and remove them from the device.
Next, install the replacement button and reassemble the smartwatch.
Finally, test the button to make sure its working correctly.
No matter what method you choose, make sure to use caution while repairing your smartwatch.
Taking it apart can be tricky, and its easy to damage the device if youre not careful.
With patience and the right tools, you can get your smartwatch back in working condition and avoid having to buy a new one.
Final Thoughts
Repairing a broken smartwatch button doesnt have to be a daunting task.
With the right tools and a little patience, you can repair it yourself.
Take the smartwatch apart, check the button and its connections for damage, replace or repair the button, reassemble the smartwatch, and test the button.
For any common issues that may arise, remember to troubleshoot and seek advice from a professional if needed.
Now that you know how to repair a smartwatch button, take a moment to put your newfound knowledge to use!.
